The 3D Print Project
|
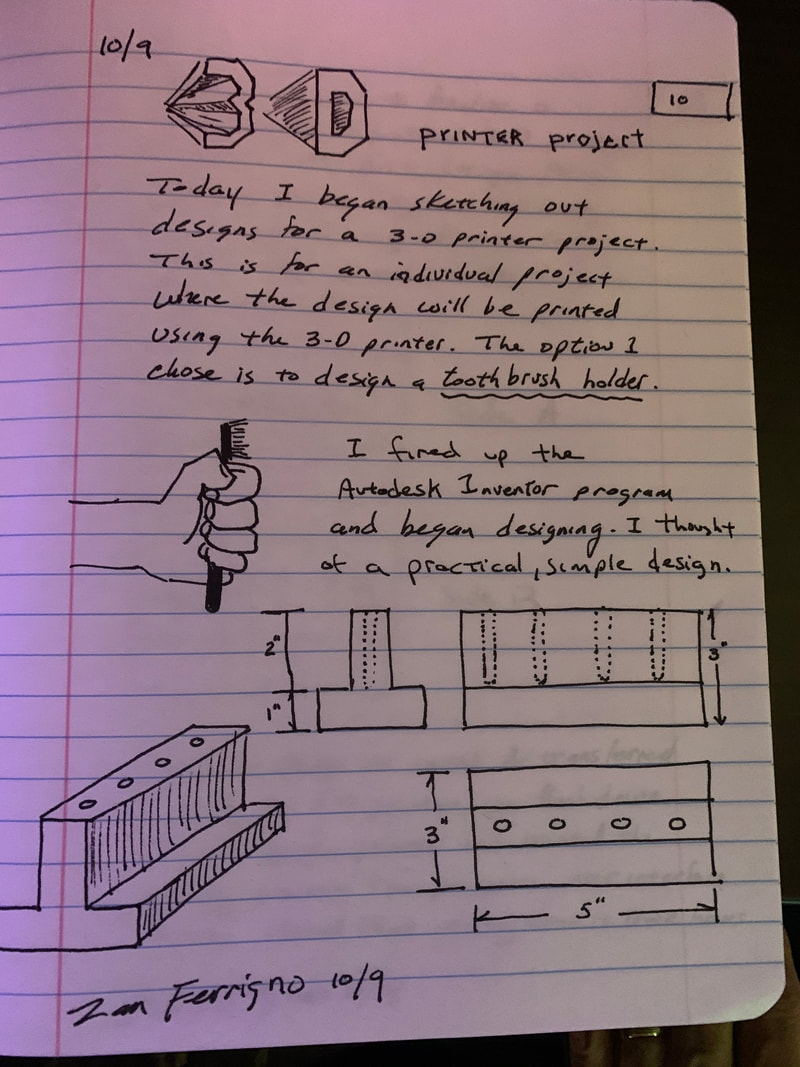
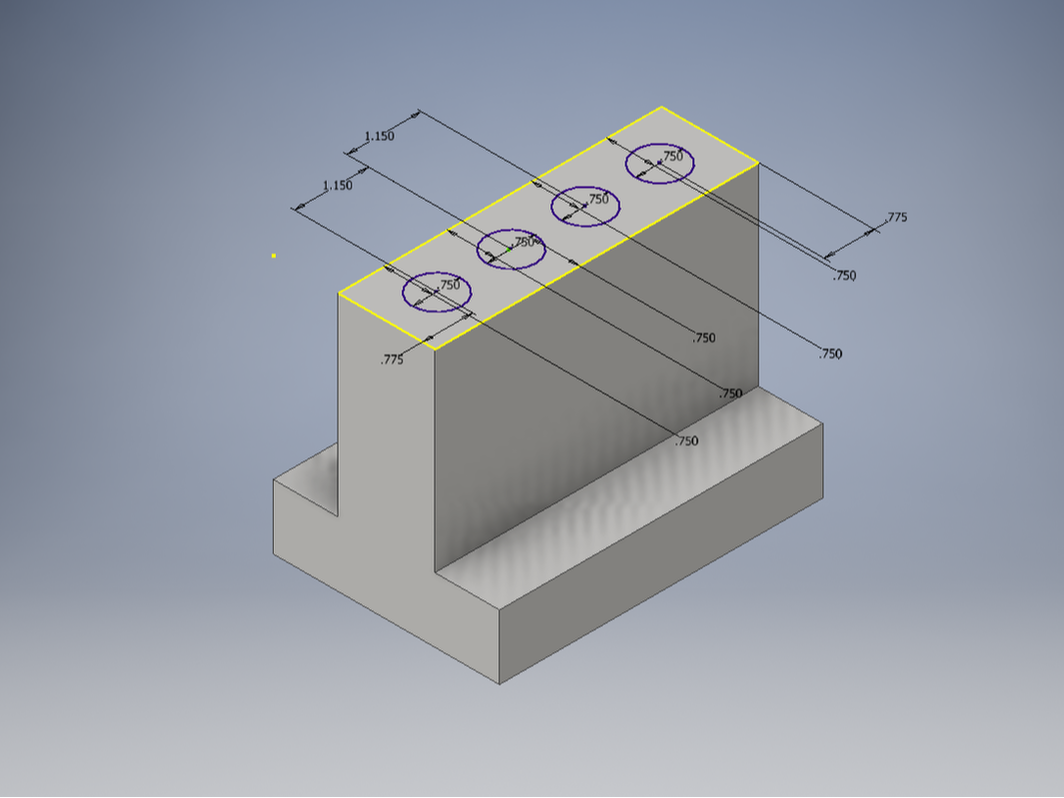
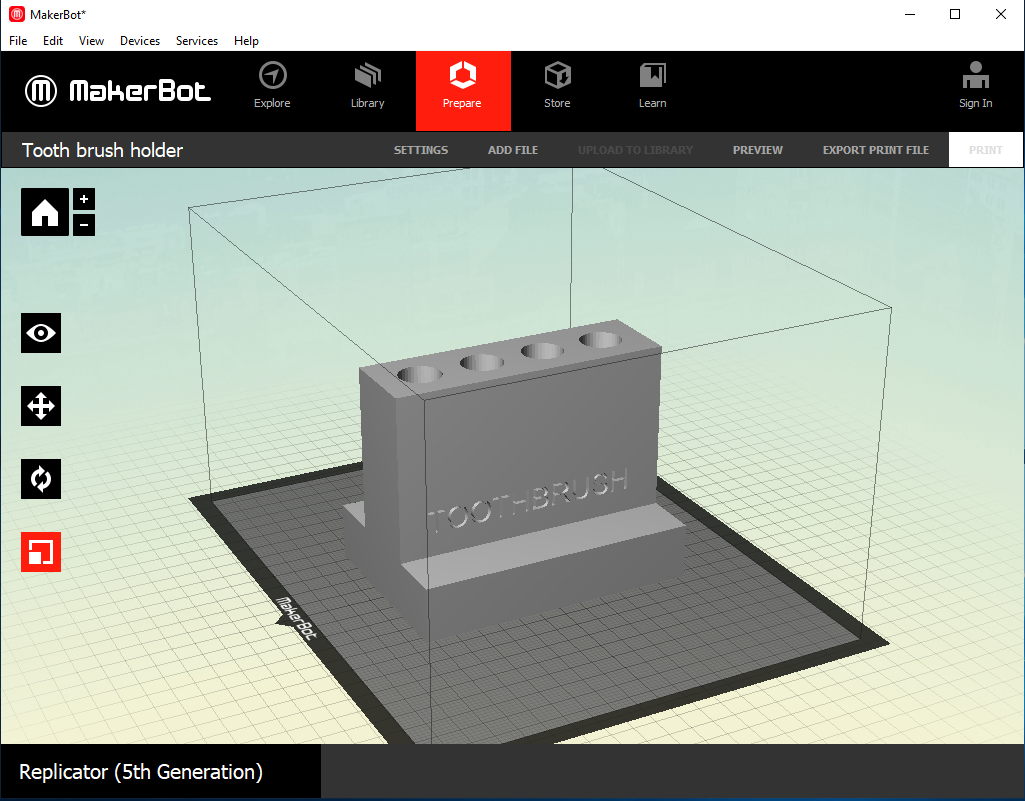
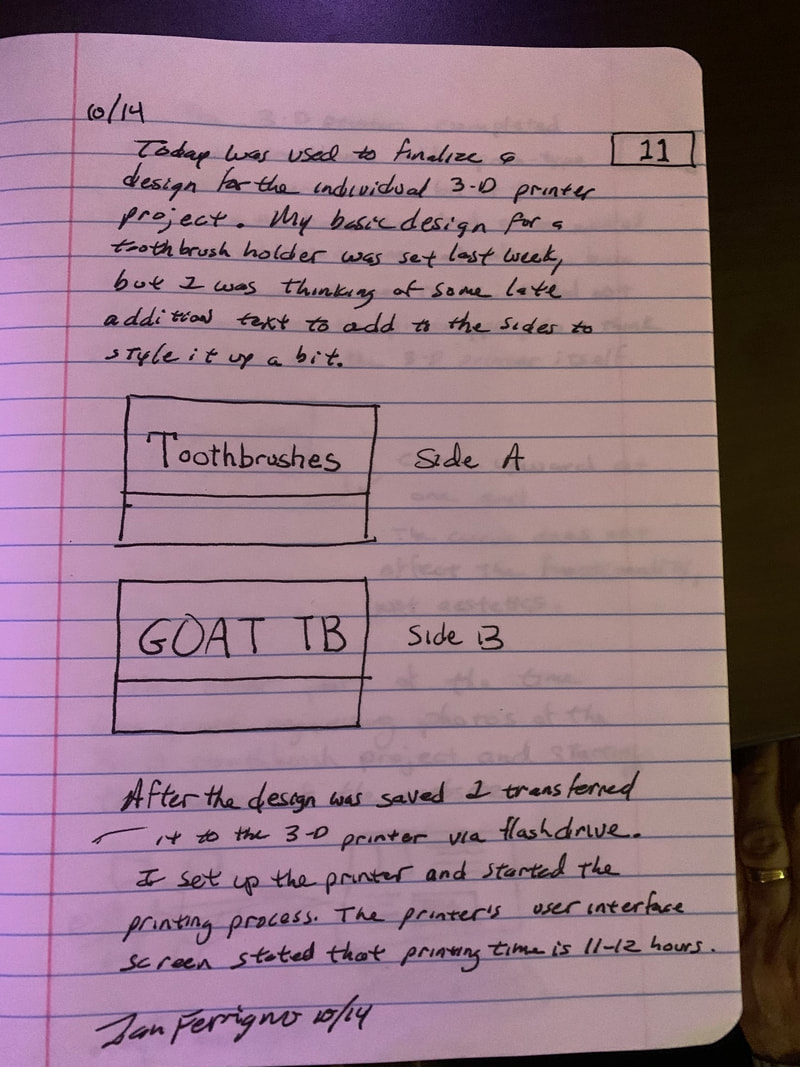
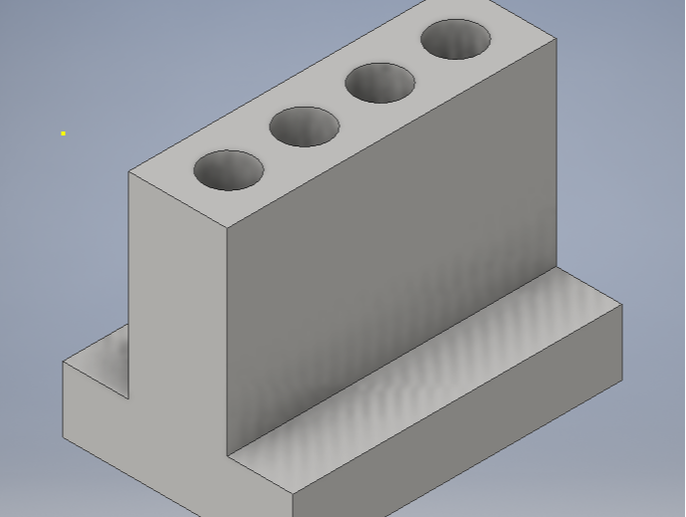
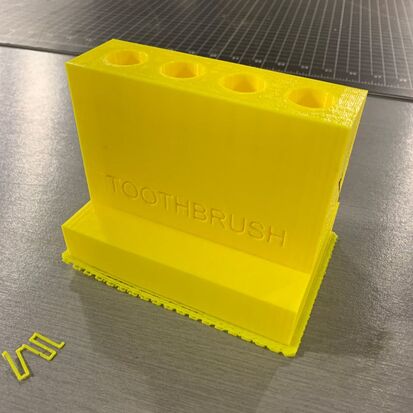
The 3D printing project provided options for the type of product we could make. I selected a toothbrush holder as it seems to be a practical item to have. I began the project by thinking of a basic block-style design that could hold multiple tooth brushes. I sketched out the concept in my designer notebook, taking care to think it through in isometric fashion. One key was to ensure enough material for the upright portion so that it could take holes which would be where toothbrushes get inserted and held upright. The base seemed pretty easy to produce, and overall the block-style design would work. I generated the final production design using MakerBot and then transferred the design to the 3D printer via a flash drive.
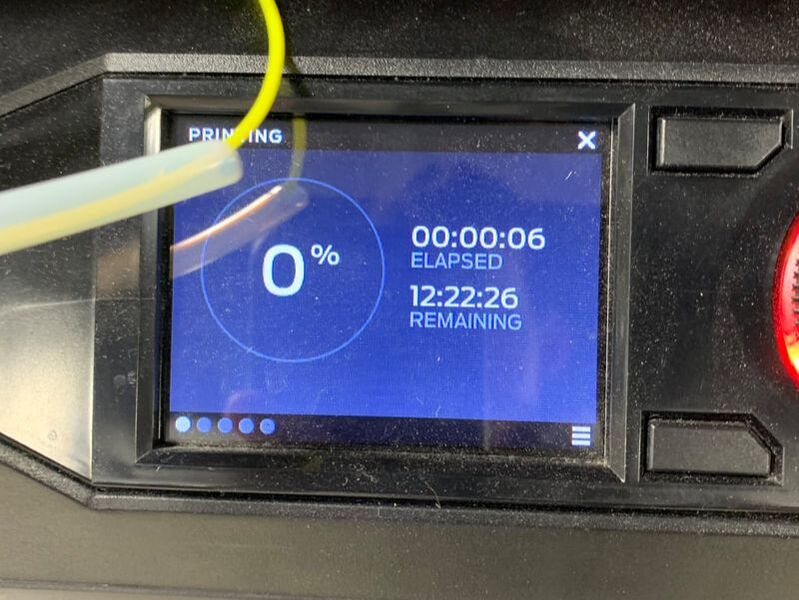
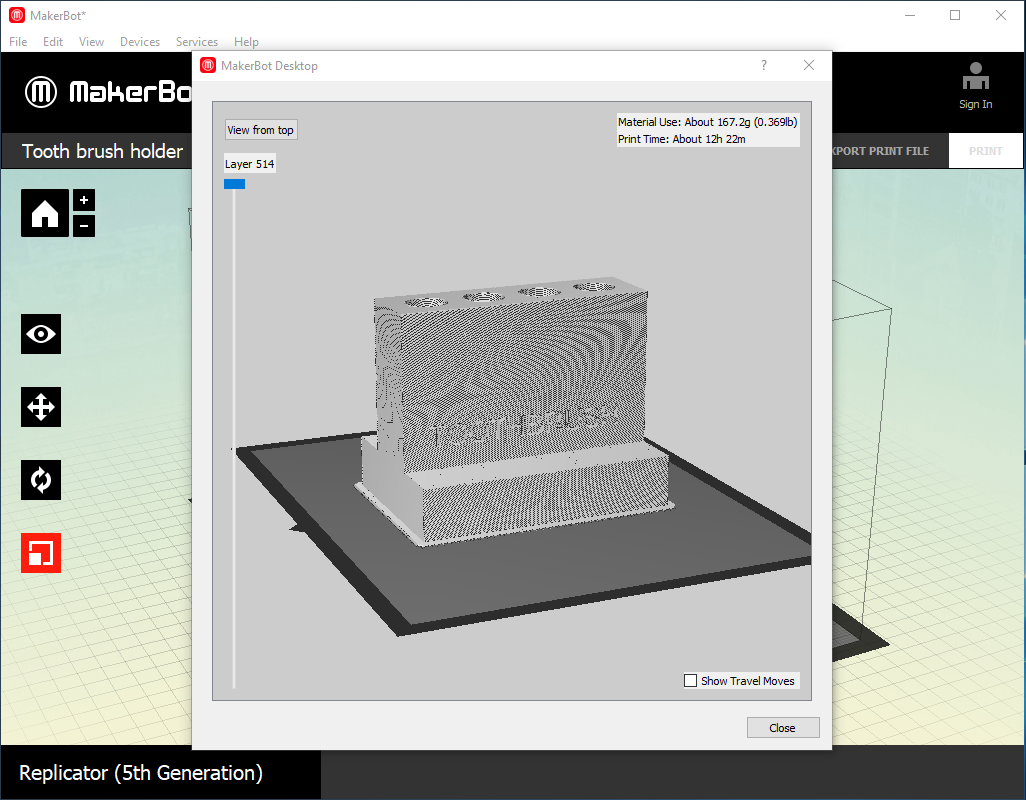
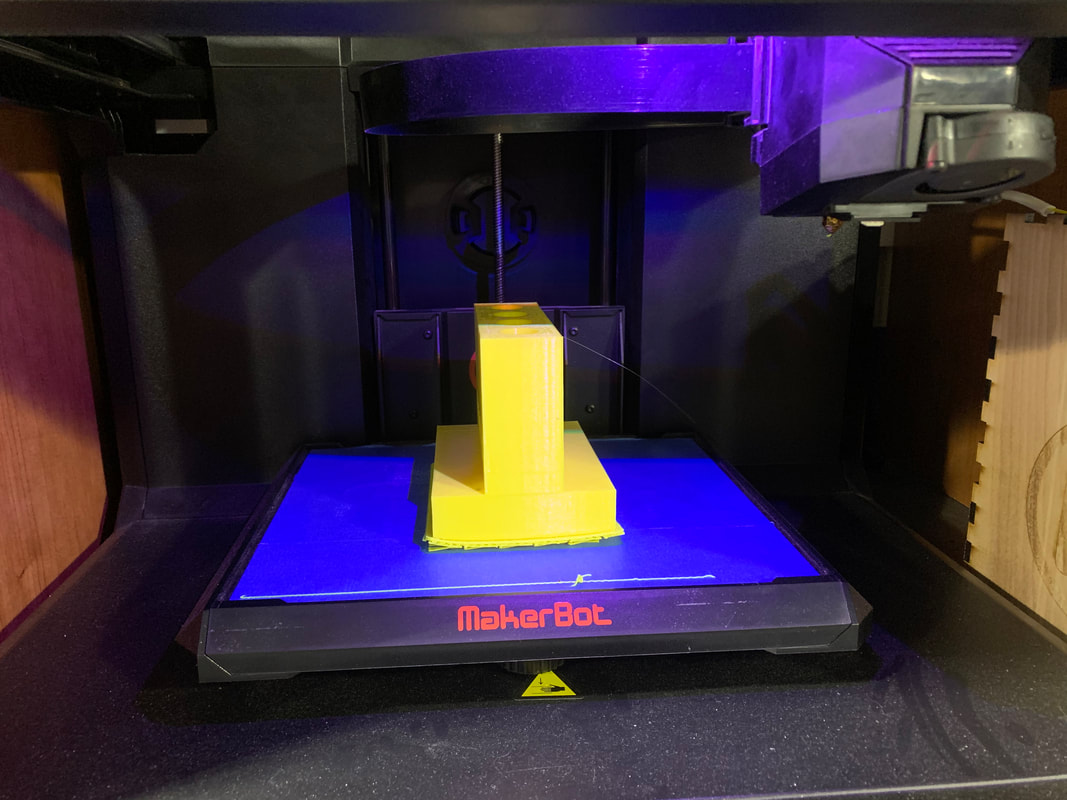
Printing was performed utilizing yellow plastic resin. Once the settings were complete and processing was started, MakerBot projected a 12-hour, 26-minute printing time. Printing was complete the following morning. Besides a little flash on the base where it met the MakerBot printing surface, the printing was accurate and tight. All dimensions, holes and angles were exactly as designed. |
|
|
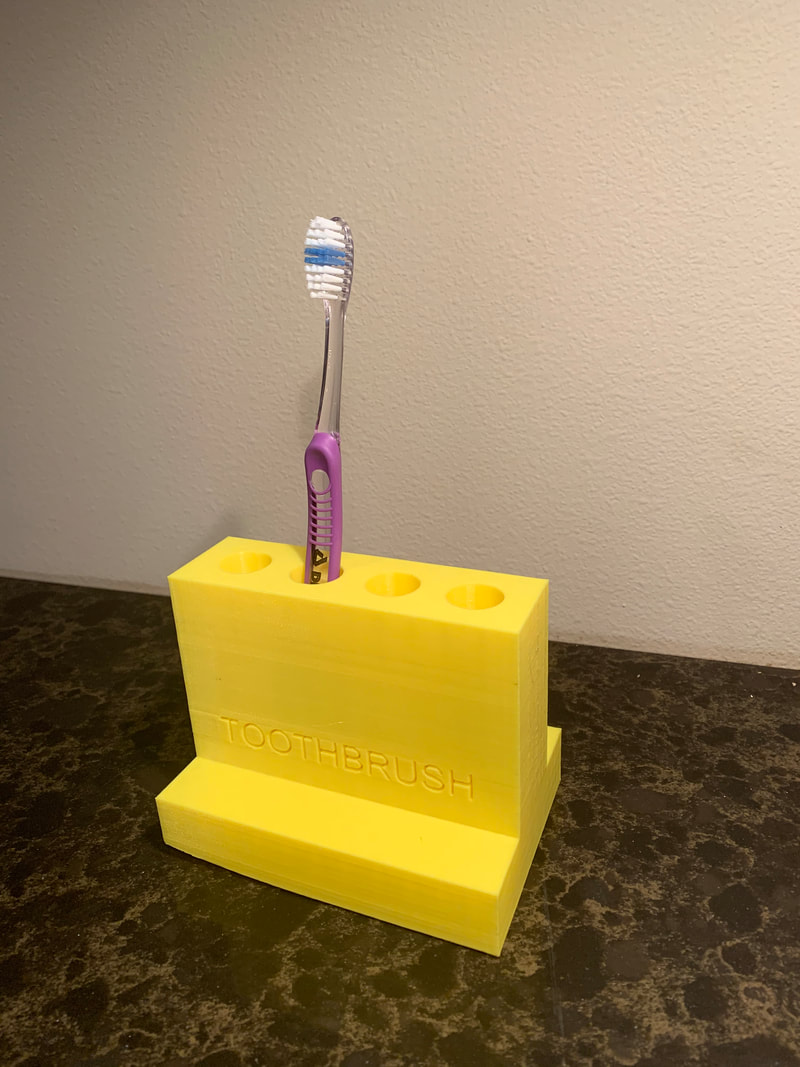
FinalThe 3D Printing project was a great learning experience for me in that I was able to use a creative/production process still in its infancy, i.e., 3D printing. In my opinion, projects like this function like a miniature version of a real-world production process. The first part was where I learned to take a problem, brainstorm methods for solving it, and design options for the solution. Then the technology stage takes over where I programmed my design idea into software. This part helped me understand how ideas can be architected into real world solutions using technology, finishing the process with a real working model of the solution. I also liked to have the flexibility to make adjustments and add finishing touches to the design, such as the text I placed on the exterior.
|
|
|
