Laser Project
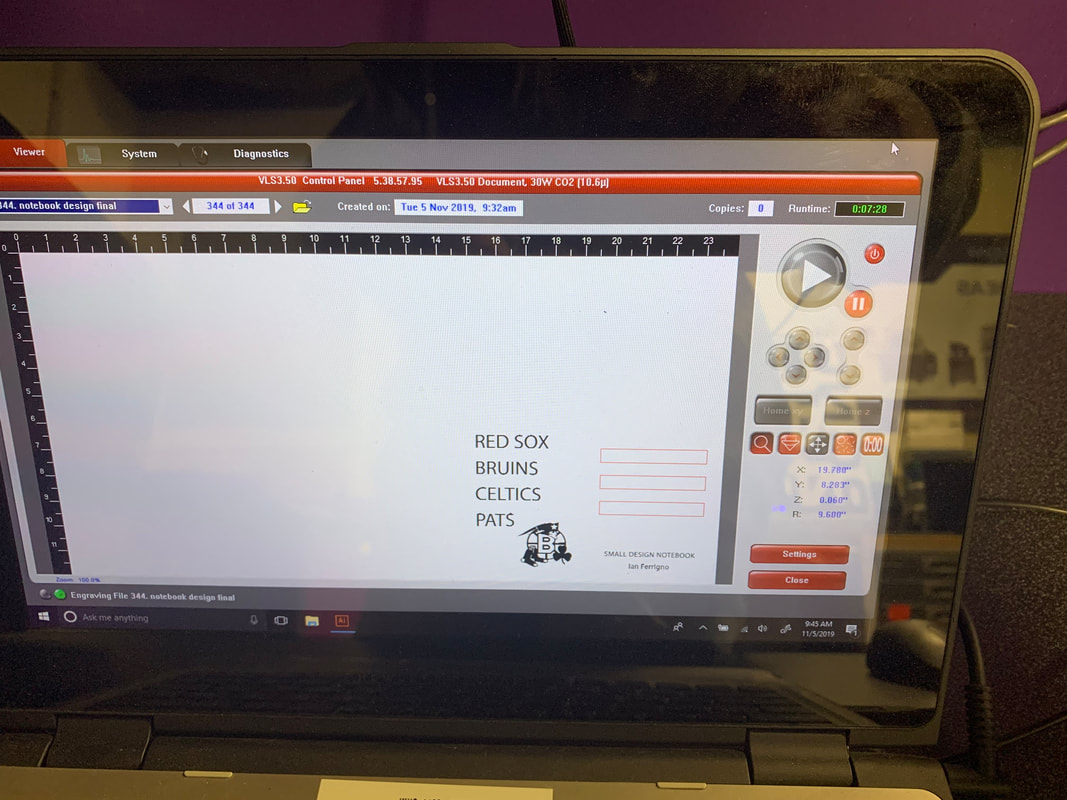
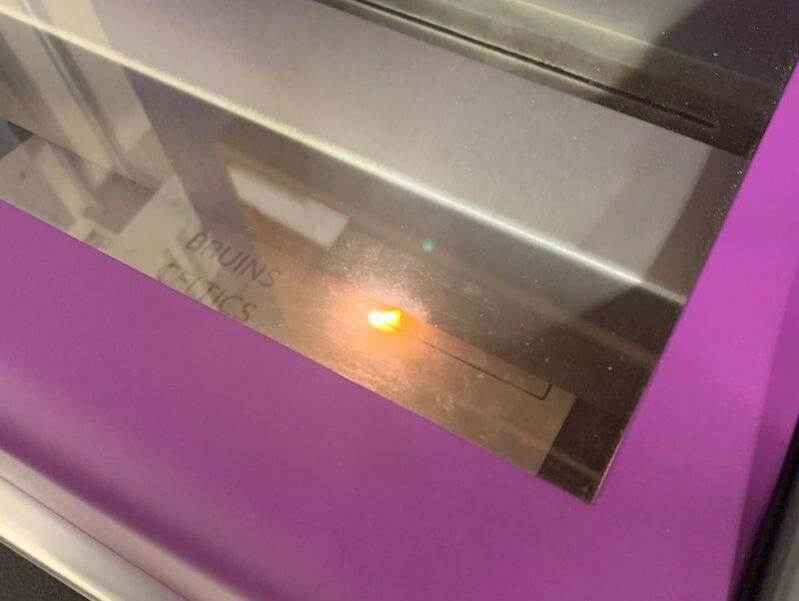
Notebook cover The next design and production project was all about using a laser cutter to create a two-dimensional object. After brainstorming some ideas in my head I settled on making a simple matte board cover for a small designer's notebook. As with other projects I started using Adobe to generate a production design off of the idea I had in my head. The cover would be 4" wide by 6" high. I wanted to give it a sports theme so the cover was designed to include text of Boston sports teams plus an artistic element of a mash-up of the four major Boston pro sports teams' logos. The back was designed to have some simple cut-outs just for styling, plus a laser engraving of the product name, i.e., "Small Design Notebook," and my name. After completing the design I uploaded the file into the laser cutter software. Then I loaded the mate board material, turned on the machine and hit Start. The cutting took about 5 minutes.
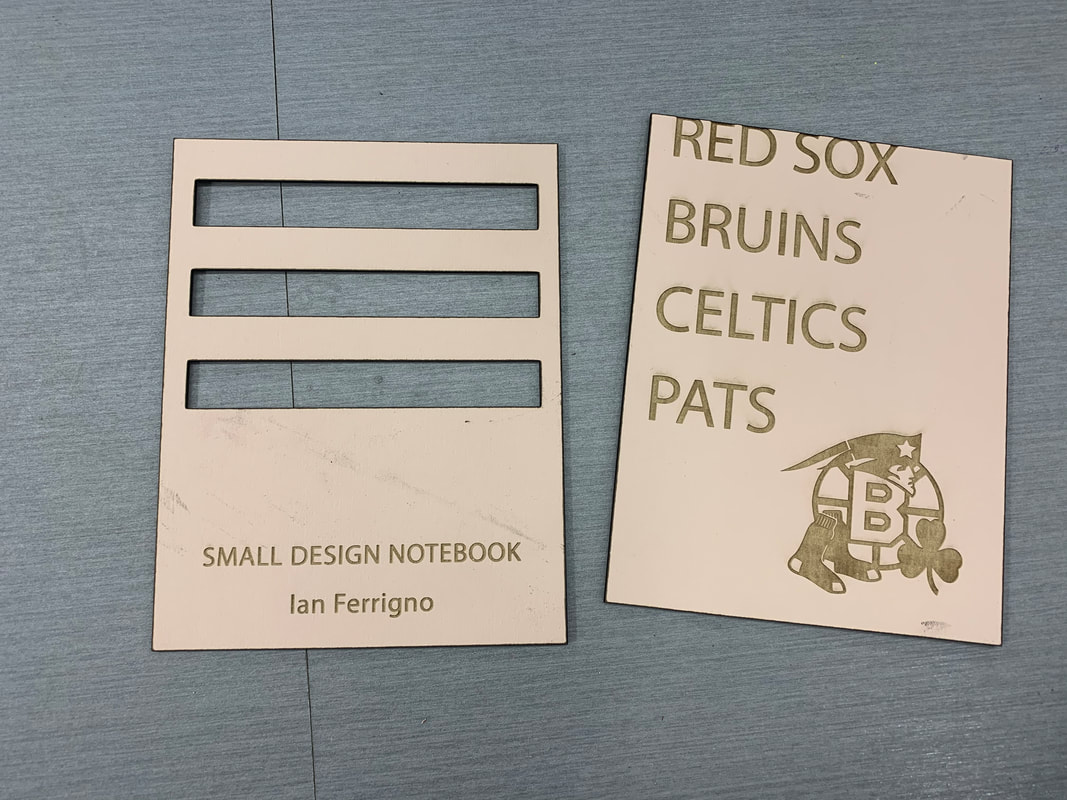
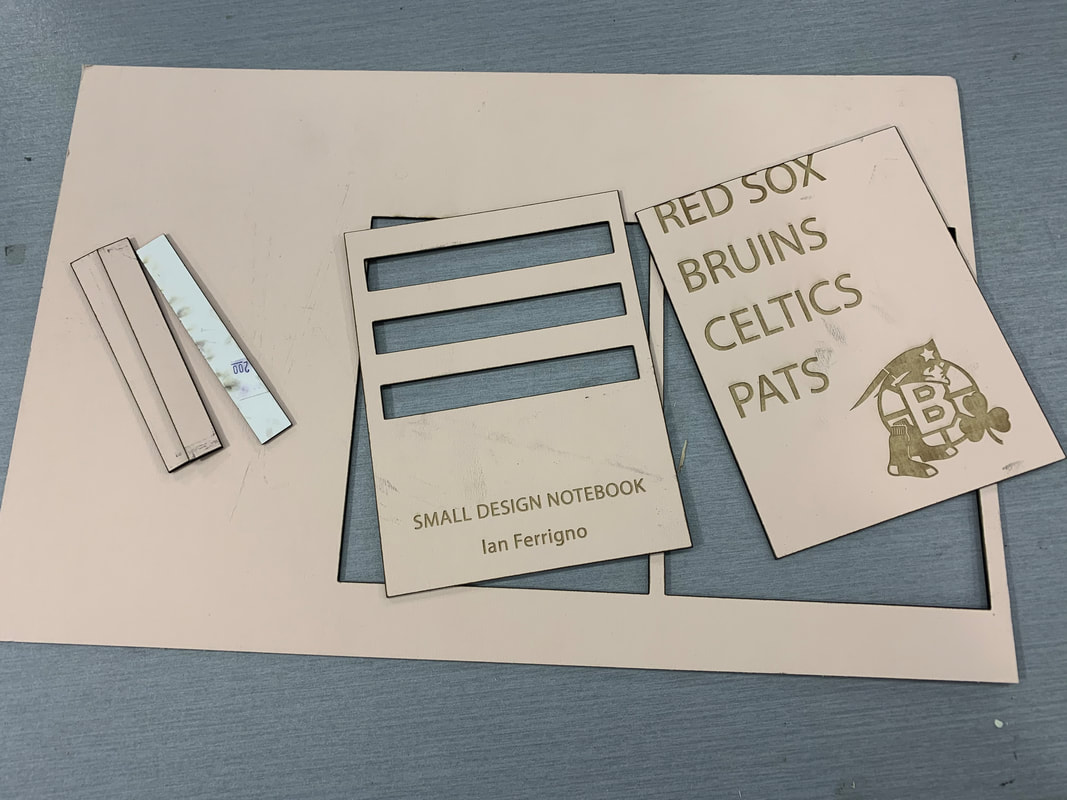
FinalThis project revealed the power of laser cutting. The artistic portion of the front cover had lots of details and intricate spaces to cut out and the design itself was no match for the laser cutter. Another thing I learned was the precision the laser cutter can perform. Most of the cuts were not straight through the matte board but only half-way through the board. The half-way cutting gives the element an etched look. I think this type of functionality can work well with creating test items for various products and generate additional design requirements. For example, the laser cut prototype makes me think I would want to laser cut the edge of the covers to integrate with a spiral bound notebook spine.
|
|

|
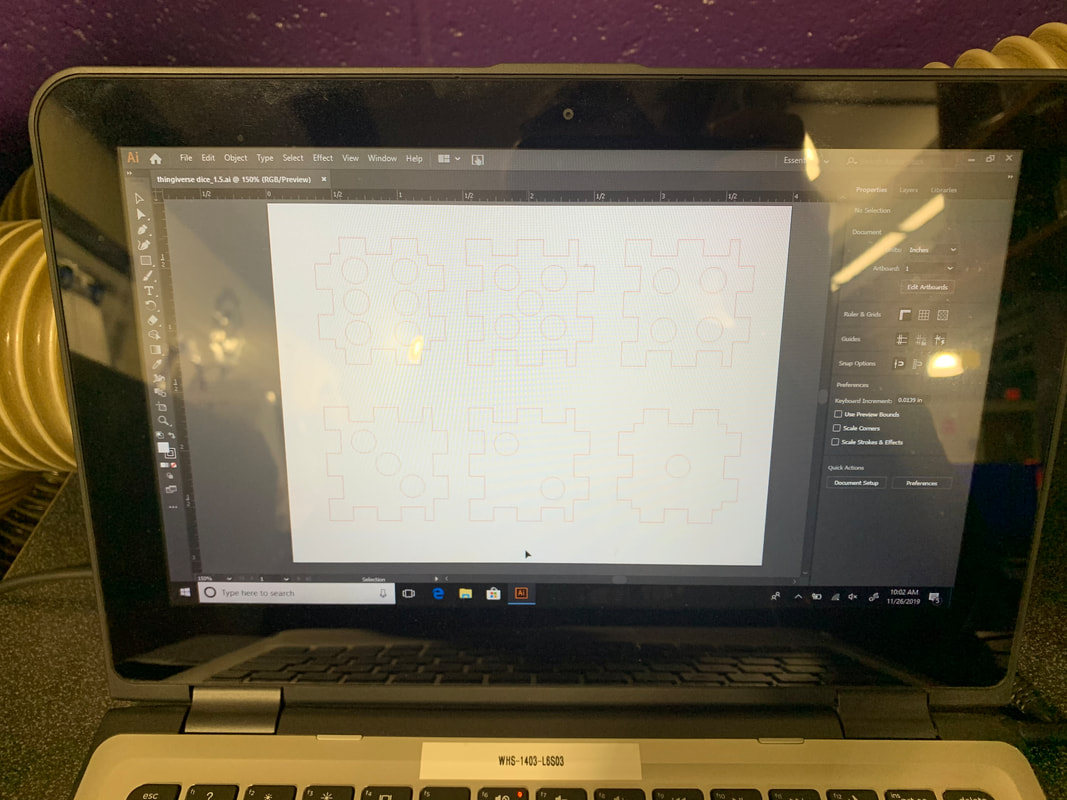
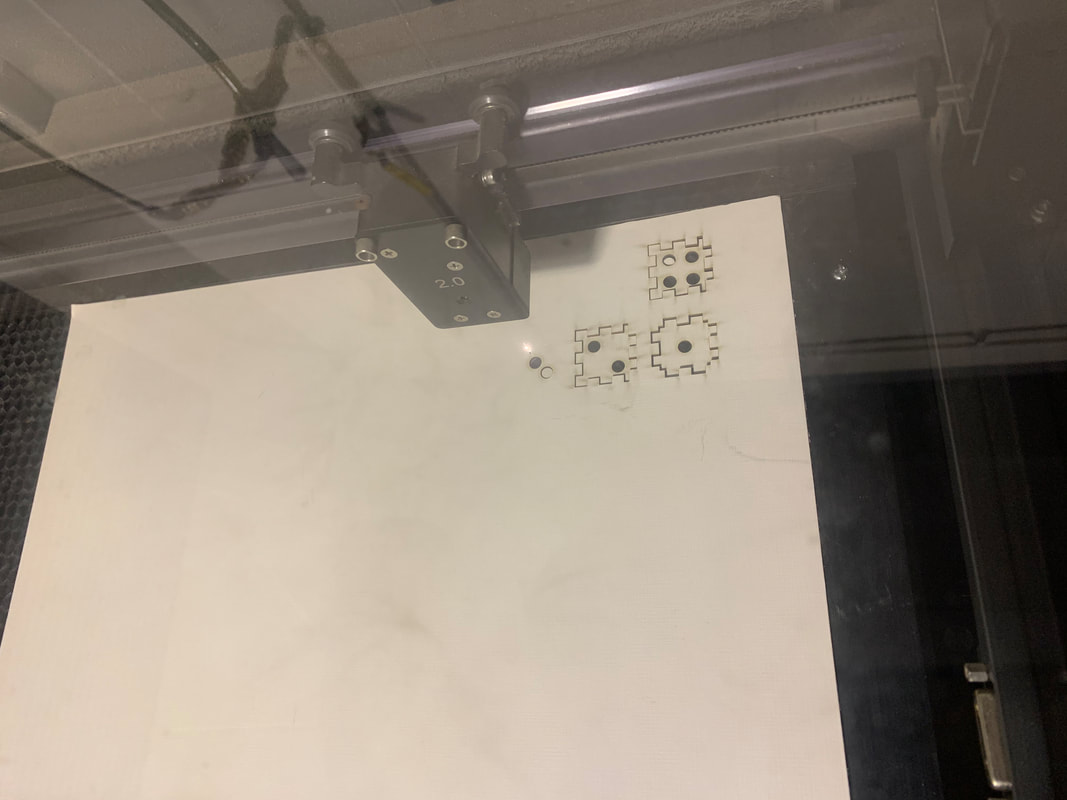
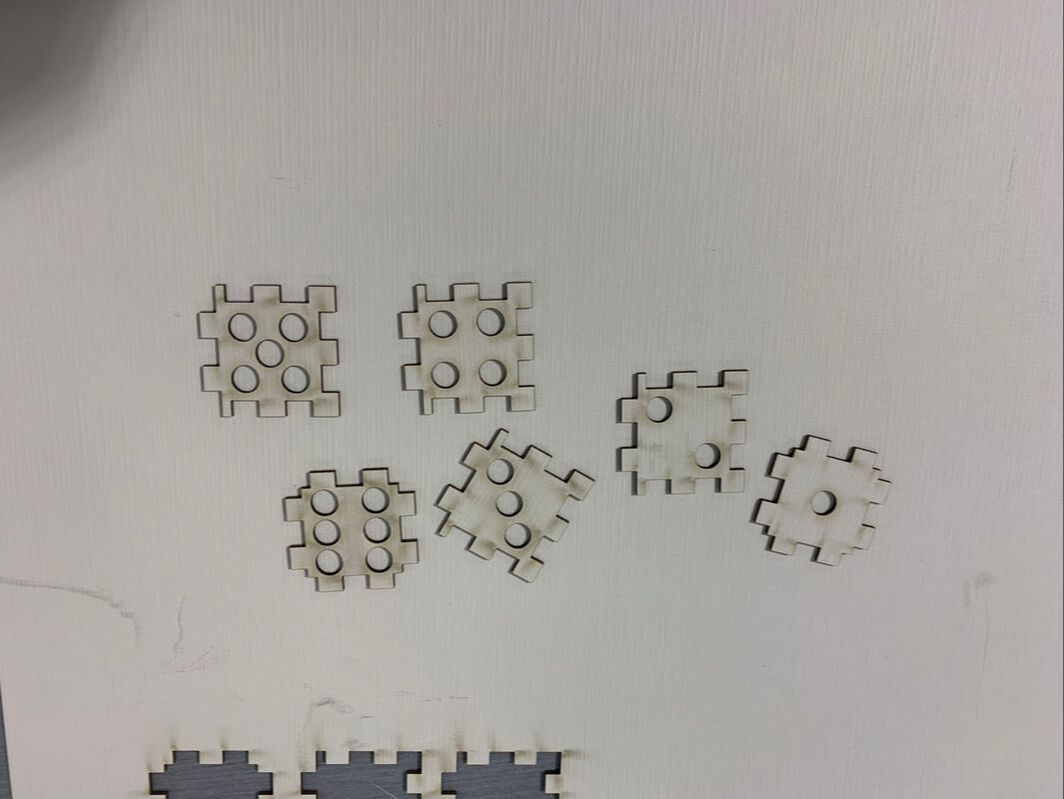
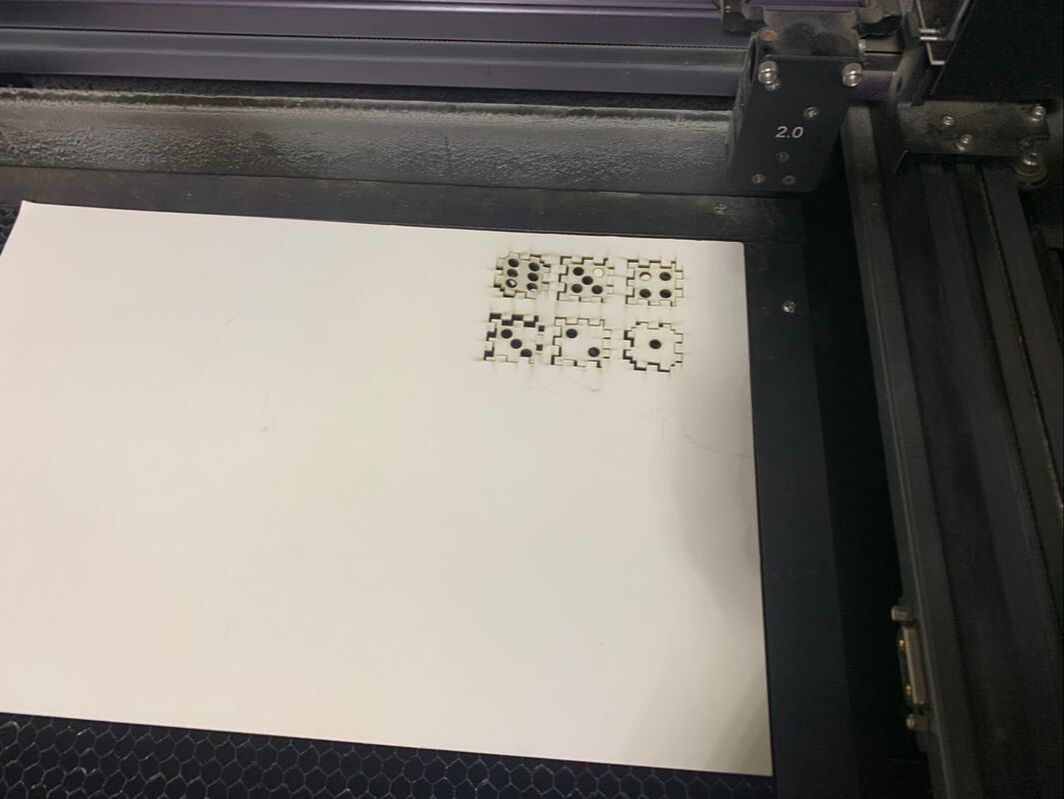
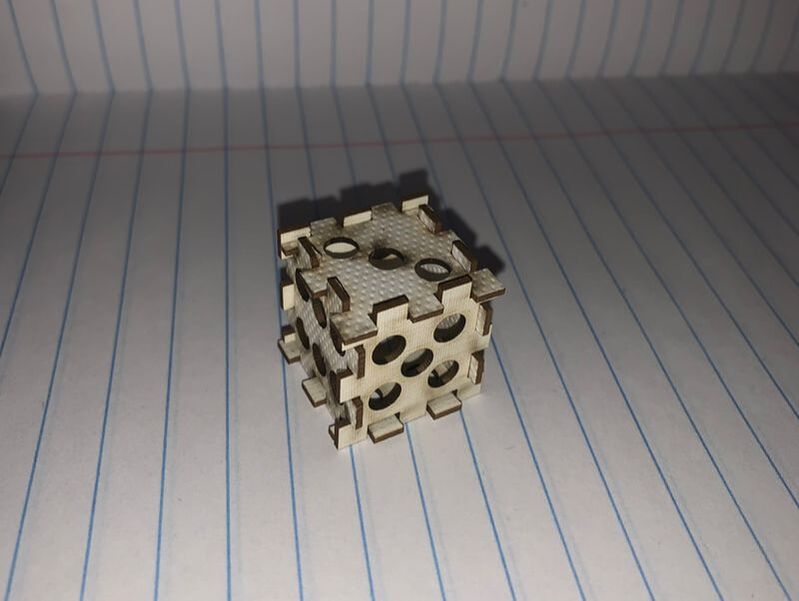
Thingiverse Object - Laser CutPart II of the Laser Cut project was to use the two-dimensions that come out of the laser cutter and transform the output into a 3-dimensional object. I used an idea and pattern from the Internet's Thingiverse website. It was a pattern which would produce the six sides of a die. I downloaded the template from the Thingiverse website and uploaded it into Adobe. After a few tweaks I had a finished design. Next, the design was transferred to the laser cutter computer for use in the actual cutting machine. After setting the matte board into the cutter, a click of the Start button got the laser cutting head begin to do its thing. You can see the six sides of the die laid out like a pattern in the pictures to the right and down. With the six pieces in hand, the final step was to construct a three-dimensional die. The last photo shows the finished item.
Like with the notebook cover, I saw a first hand view of how precise the laser cutter can be. The corners of the die had to be precise in order to fit together correctly and it accomplished this without issue. I also think that laser cutting is technology that can help minimize waste, since the individual pieces to be cut can be very close to each other in terms of where the laser will cut them. |

|

|
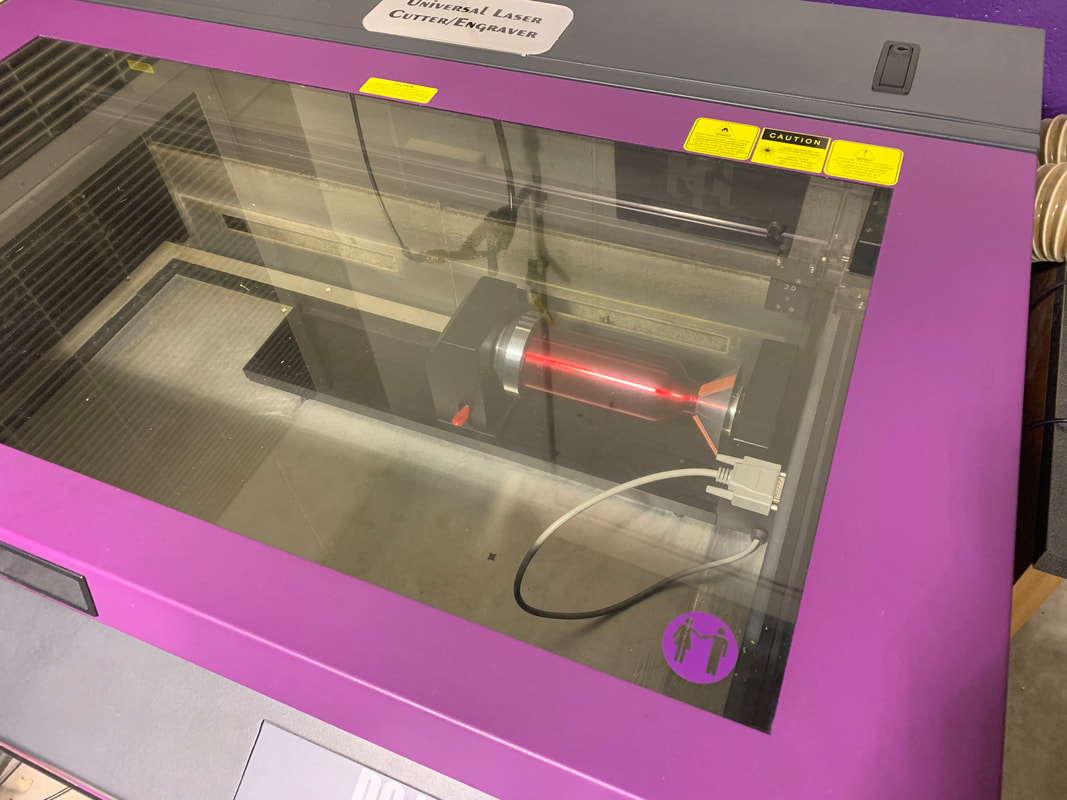
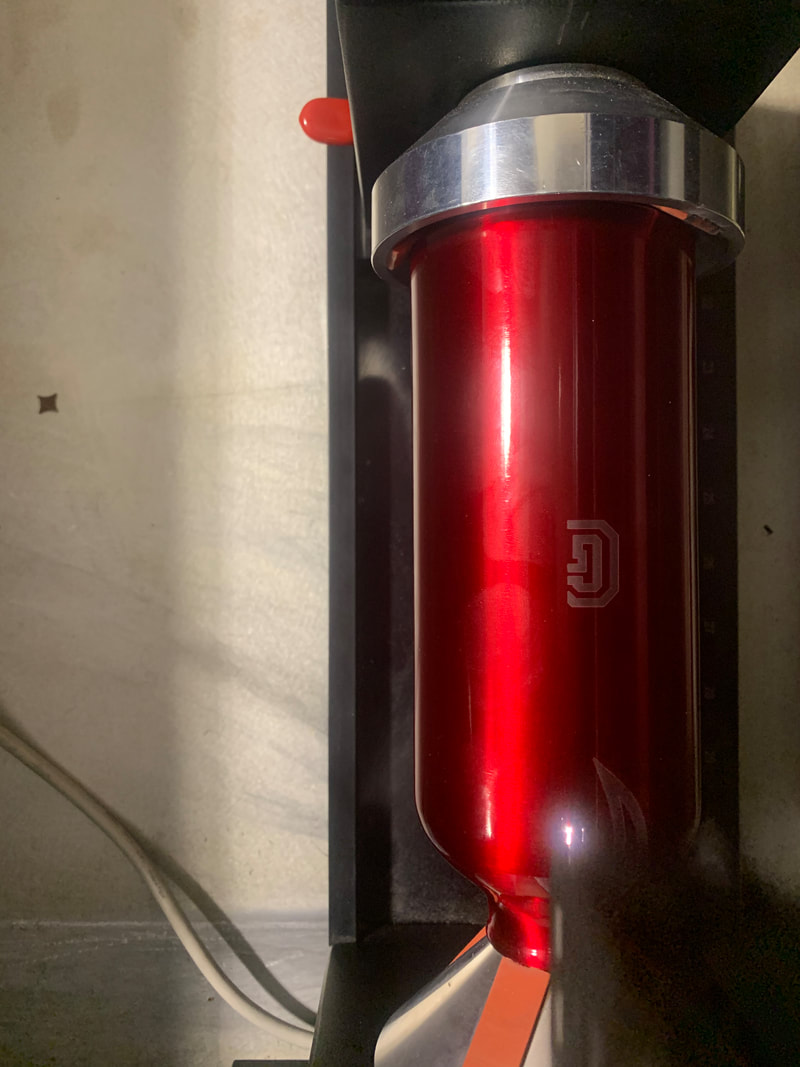
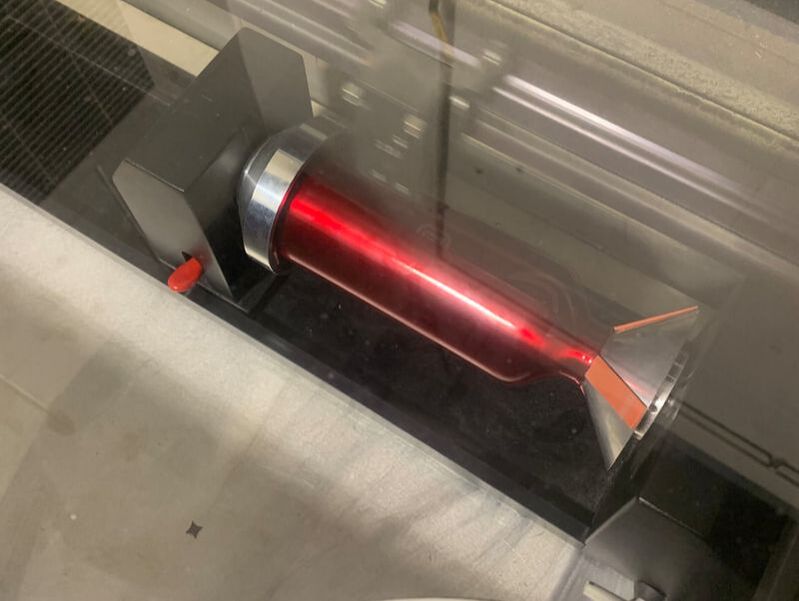
Water Bottle Engraving I created an engraved water bottle as the final part of the laser cutting module. I already had an idea of a design when I learned about this project so I did not have to do any hard design idea research or brainstorming. For several school projects I have used a brand and brand logo that I created, called GOAT. The logo is a sleek and stylish graphic of a goat from ahead-on view. I used Adobe to complete a design, having the GOAT logo at the top, the GOAT brand name underneath across the bottle mid-section, and some other design elements below that to give it a tech feel. When I got the design where I wanted it, I saved it to a jump drive to move it to the laser cutting computer system.
I used a red blank water bottle for my product as I felt the color would contrast well with the engraved portion. The laser eliminated the red paint for all text and design elements, resulting in a red bottle with silver (metal) design elements.The bottle blank fits into the laser machine like a piece of wood fits into a lathe. However whereas a lathe spins the material, in the laser cut machine the laser head actually moves around the material, all controlled by the design and the computer. This final laser cutting project showed me the versatility of the machine. My previous projects were based on two-dimensional materials, such as the key chain project and the Thingiverse Object die project. The bottle project utilized three-dimensional material. The value of the machine is that when it combines with computer software, engraving a design on three dimensional material is very easy. This shows how computer-based engraving really has no limit in terms of the dimensions of the material. |

|


|
